Quick answer: the stages of hardware product development
| Stage | Goal | Typical outputs |
|---|---|---|
| 1. Requirements | Define what the product must do, where and for whom | Requirements document: functions, loads, environment, regulations, target cost |
| 2. Concept and architecture | Choose how it will work | Concept sketches, mechanism and component choices, subsystem interfaces, plan |
| 3. Detailed design | Turn the concept into buildable parts | Parametric CAD, calculations, electronics integration, drawings, BOM |
| 4. Prototyping | Make it physical | Functional prototypes, from 3D printed parts to machined assemblies |
| 5. Validation | Prove it meets the requirements | Fit checks, test results, simulation reports, design updates |
| 6. Manufacturing handoff | Make it producible | Production drawings with GD&T, DFM reviews, final BOM, STEP files, supplier coordination |
The stages overlap and loop: a failed test in stage 5 sends you back to stage 3. The aim is to make each loop as short and cheap as possible.
Stage 1: requirements
Requirements are the most skipped and most valuable stage. Write down what the product must do (functions, performance targets), where it operates (temperature, dust, water, vibration, outdoor use), who uses it and how, which standards or certifications apply, the target unit cost and volume, and the timeline.
Good requirements are measurable: "carry 5 kg at 0.5 m/s" rather than "strong and fast". They become the test plan for stage 5 and the tie-breaker for every design trade-off in between.
Stage 2: concept and architecture
This stage decides how the product will work: the mechanism, the main components (motors, sensors, controllers, batteries), how subsystems connect, and how everything is packaged. It's the cheapest point to compare alternatives, so compare several on paper or with quick models before committing.
Key decisions here include build versus buy for each subsystem, which manufacturing processes the main parts will use, and where the technical risks are. Plan early prototypes to retire the biggest risks first.
Stage 3: detailed design
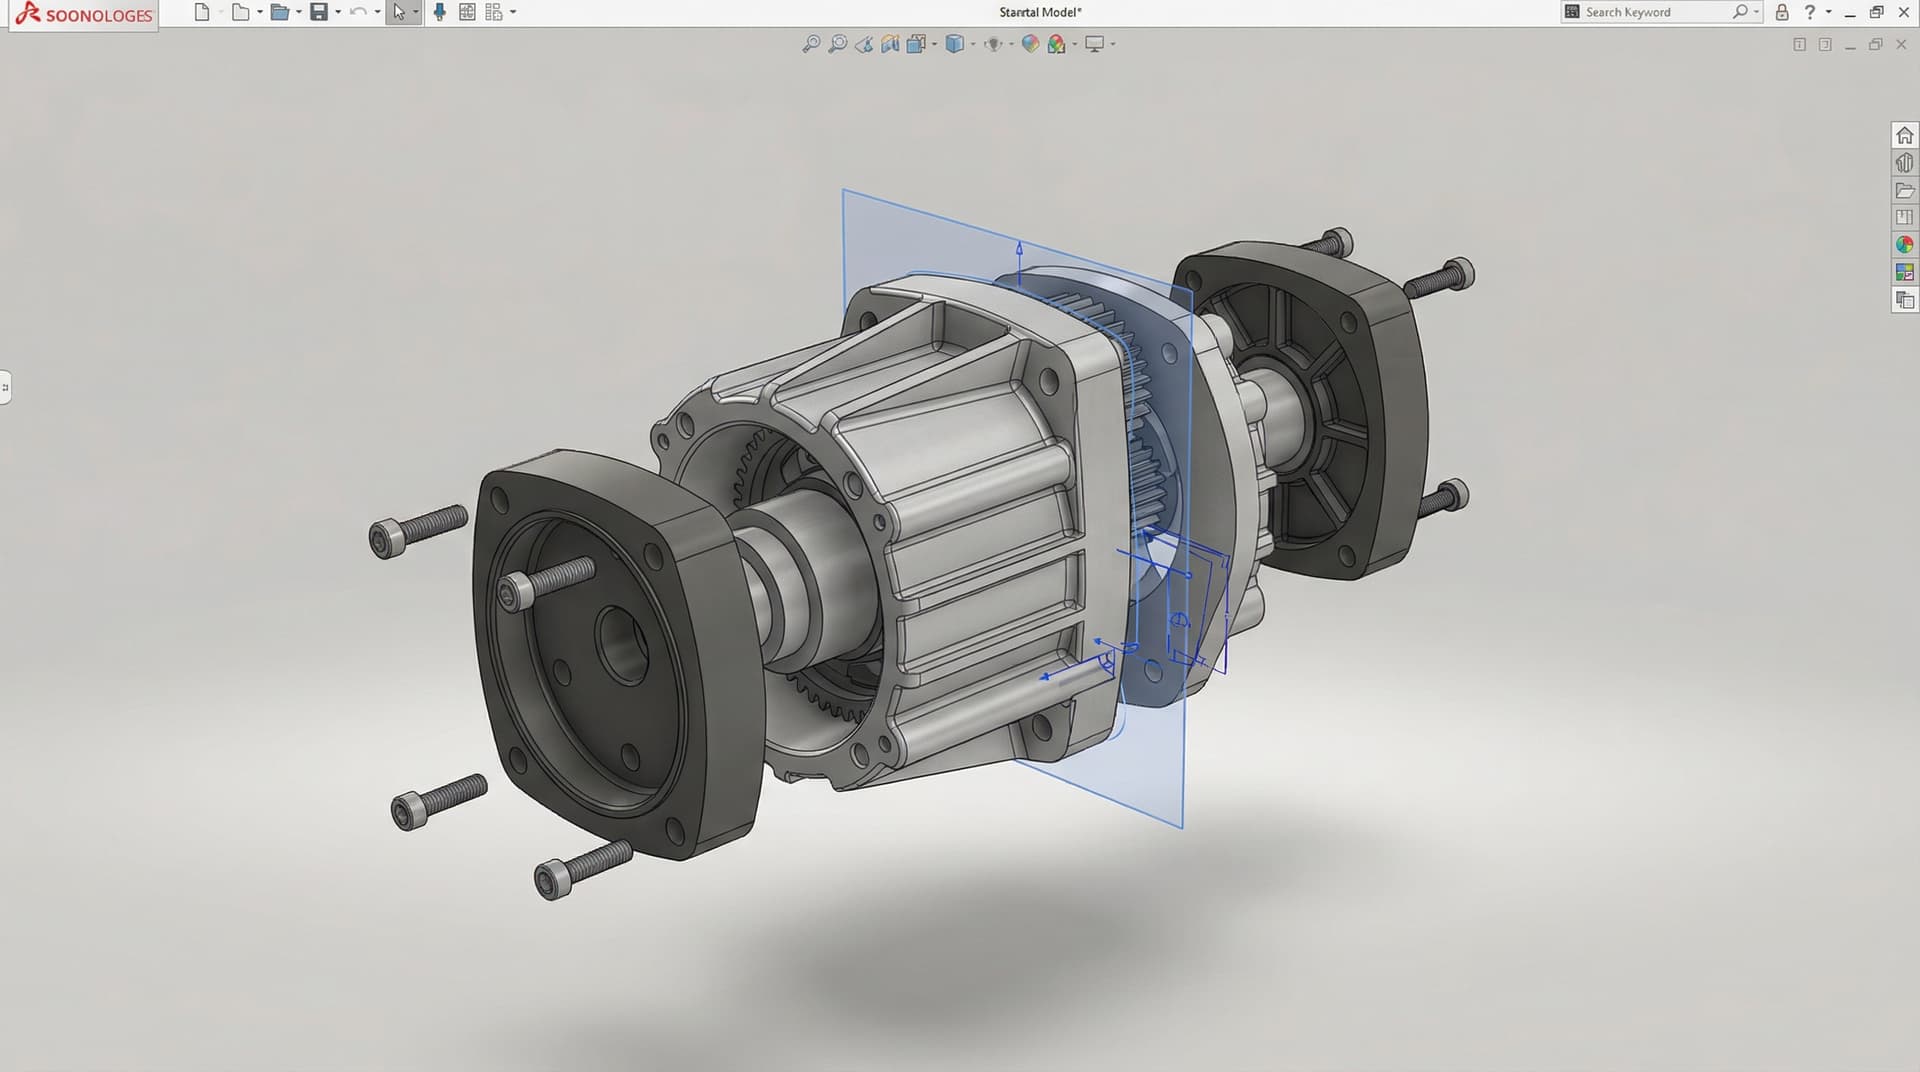
Detailed design turns the architecture into parts that can be made: parametric CAD for every part and assembly, calculations for motors, gearboxes and structures, tolerance stack-ups for critical fits, electronics and wiring integration, and simulation such as FEA or CFD where loads or heat are critical.
Design for manufacturing (DFM) belongs here, not at the end. A housing designed for 3D printing will need changes for injection moulding: draft angles, uniform walls, ribs instead of solid sections. Knowing the production process early avoids redesigning later. See our DFM checklist for the rules that matter.
Stage 4: prototyping
Prototypes answer specific questions, so plan each one around a question:
| Prototype type | Answers | Typical process |
|---|---|---|
| Looks-like | Size, ergonomics, appearance | 3D printing (SLA for surface finish) |
| Works-like | Does the mechanism or electronics work? | FDM printing, off-the-shelf parts, dev boards |
| Functional prototype | Does the integrated design meet requirements? | FDM in engineering materials, machined parts |
| Pre-production | Does the production design work? | Production processes or close equivalents |
3D printing makes early iterations fast and cheap, so it pays to iterate in plastic before committing to machined or moulded parts. For process choices, see 3D printing for product development.
Stage 5: validation (EVT, DVT and PVT)
Validation proves the design meets the requirements. Larger hardware programs often split it into three phases:
- EVT (engineering validation test): does the design work? Tests functions and performance on early functional units. - DVT (design validation test): does it meet every requirement, including environmental, reliability and regulatory tests, on units built close to production methods? - PVT (production validation test): can the factory build it consistently at the intended rate and quality?
Smaller projects compress these into fit checks, functional tests and a pilot batch, but the logic is the same: test against the written requirements, and fix problems in the stage where they are cheapest to fix.
Stage 6: manufacturing handoff
A product is ready for manufacturing when a supplier can make it from the documents alone. That package typically includes production drawings with GD&T, neutral CAD files such as STEP, an engineering bill of materials with part numbers, DFM reviews for moulded, machined or sheet metal parts, assembly instructions and test procedures. For file formats, see STEP vs IGES vs Parasolid.
What drives the cost of hardware development
There is no fixed price for developing a product, but the cost drivers are predictable:
| Cost driver | Why it matters |
|---|---|
| Technical complexity | Number of parts, mechanisms, moving assemblies and electronics |
| Starting point | A clear brief or existing CAD costs less than starting from an idea |
| Prototype iterations | Each loop adds design time and parts; fewer, well-planned loops save money |
| Validation and certification | Environmental tests, safety standards and certification can be a large share |
| Tooling | Injection moulds and press tools are often the largest single cost for moulded or stamped products |
| Production volume | Higher volumes justify more tooling and DFM effort to lower unit cost |
Development work is usually structured as a defined-scope engineering package, milestone-based phases, or an ongoing engineering workstream. Milestones tie payment to outputs you can review, which keeps both sides aligned.
Common budget mistakes: skipping requirements, building looks-like prototypes before the mechanism works, choosing a production process late, and underestimating tooling and certification.
Working with a product development partner in India
India has a deep pool of mechanical, electronics and software engineers and a large manufacturing base, which makes it a practical place to develop hardware, both for Indian companies and for teams in the US, Europe and the Middle East. What makes a partnership work is the same everywhere:
- A mutual NDA before sensitive files are shared, and clear IP ownership: CAD, drawings and documentation should belong to you at each milestone. - Written requirements and milestone deliverables, so progress is measured, not assumed. - Regular CAD reviews and direct access to the engineers doing the work. - Clarity on what the partner makes in-house and what is coordinated through suppliers.
For international teams, time-zone overlap and documented reviews matter more than distance. See how we work with international clients.
How YantriX develops hardware
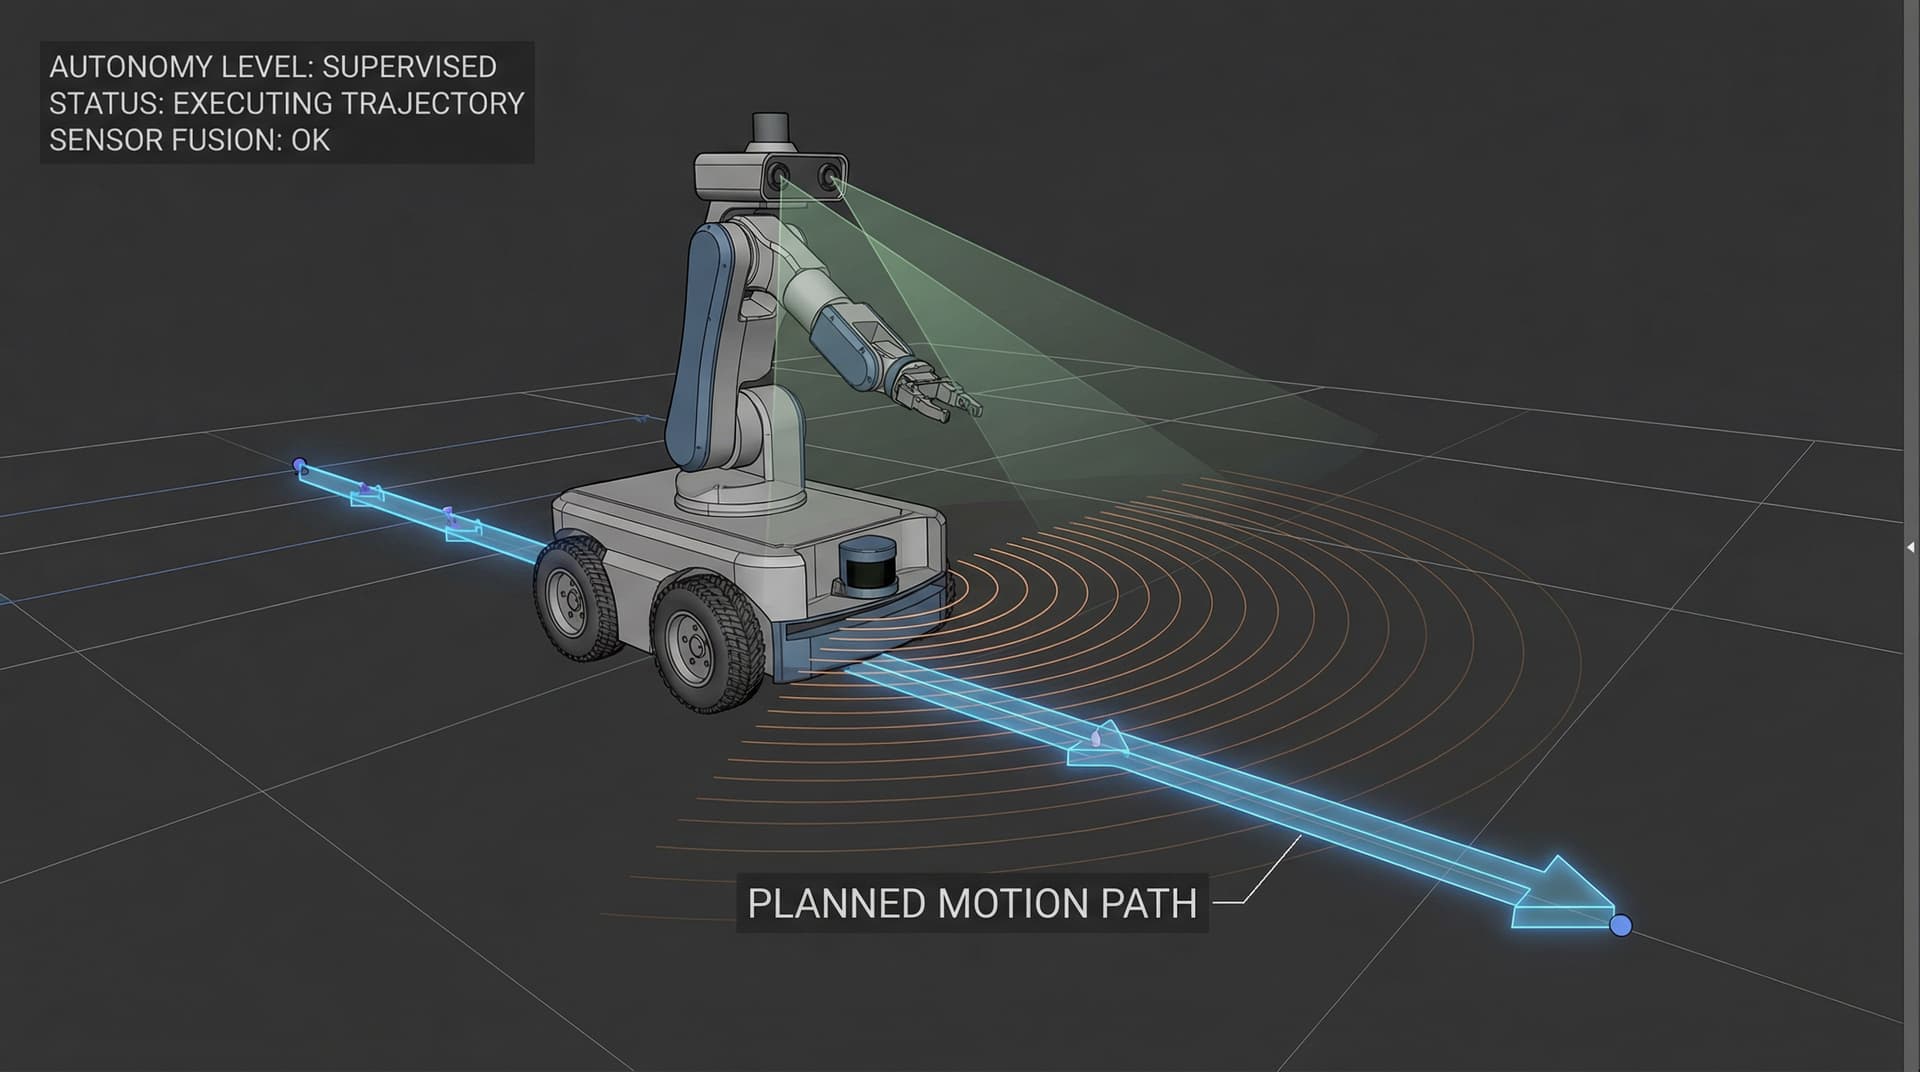
We join hardware programs at whatever stage they're at: requirements and concept, detailed CAD, fixing a failed prototype, mechatronic integration, or DFM for manufacturing release. Our engineers work in SolidWorks and Fusion 360, run FEA and CFD where loads or heat matter, and integrate motors, sensors, controllers and ROS 2 for robotic products. We build functional prototypes in FDM and SLA at our studio in Surat, Gujarat, and coordinate CNC machining, sheet metal and injection moulding through manufacturing partners. Examples include a 6-DOF robotic arm and an 80 kg payload mobile robot. See our hardware product development services or contact us with your project.